Building a Wargame Hex Grid
This is going to document some of the first steps I took in planning and creating my digital hex-and-counter wargame. I’ll share some decisions I made and why I made them, touching on technology and design choices. If you haven’t read them already, check out my posts about the use of hexes in Part 1 and Part 2 of a two-part post. There I give a little background of hexagons in tabletop wargames and some of the mathematical quirks that come up in creating a grid of six-sided shapes in a Cartesian (x and y or columns and rows) coordinate system.
The first decision was sort of an obvious one, and that was to make use of arrays to define the game board. For the non-developers out there, an array in code is just a fancy word for a collection of related things. An array might be the choices in a dropdown menu where an online form asks which brand of scotch you want to buy (Lagavulin for me, please) or it might be a numerical representation of a visual element, like a hexagonal grid.
One of the first things you’ll likely come across if you read tutorials on coding video games is how you can use arrays to create the groundwork for things like platformer levels, board games, and any visual element that has an underlying grid. The easiest way to think of this is to think back to old school platformers of the 80s. You might remember some platforms looked like they were made up of repeating images.

Without getting too deep into code, these “tiles” are represented by a series of numbers (or letters or words). For example, let’s say a 1 represents the stone “ground” tile in Super Mario, a 2 represents the brick tile, and a 3 represents the question mark bonus square. The grid for the above screen might be mostly a series of zeroes (for nothing; no block/tile), with “2, 2, 3, 2” for that platform Mario can jump on, and rows of 1s below to build the stone “ground” Mario can run across.
In other areas of your code you define which image is used with which number, and you can add more information like “oh hey the bricks tile can be punched and shattered and sometimes they contain hidden goodies.” In that way building a level is as easy as typing in a bunch of numbers that reference all the important details.
Hex Grid, take one
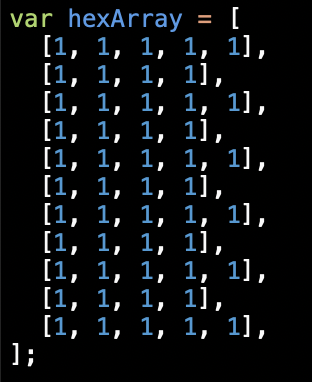
If you look at the map of your favorite hex-and-counter game, you’ll likely see where this is going. Think of the legend on a physical map as the variables, then you’re just telling the computer what each hex is and that’s where I wanted to begin in displaying a hex grid on my screen. One of the quirks with hex grids is that, depending on which way you position it, with the tops being flat or pointed, the rows alternate by one hex. I had to account for that in my array which started off looking like this:
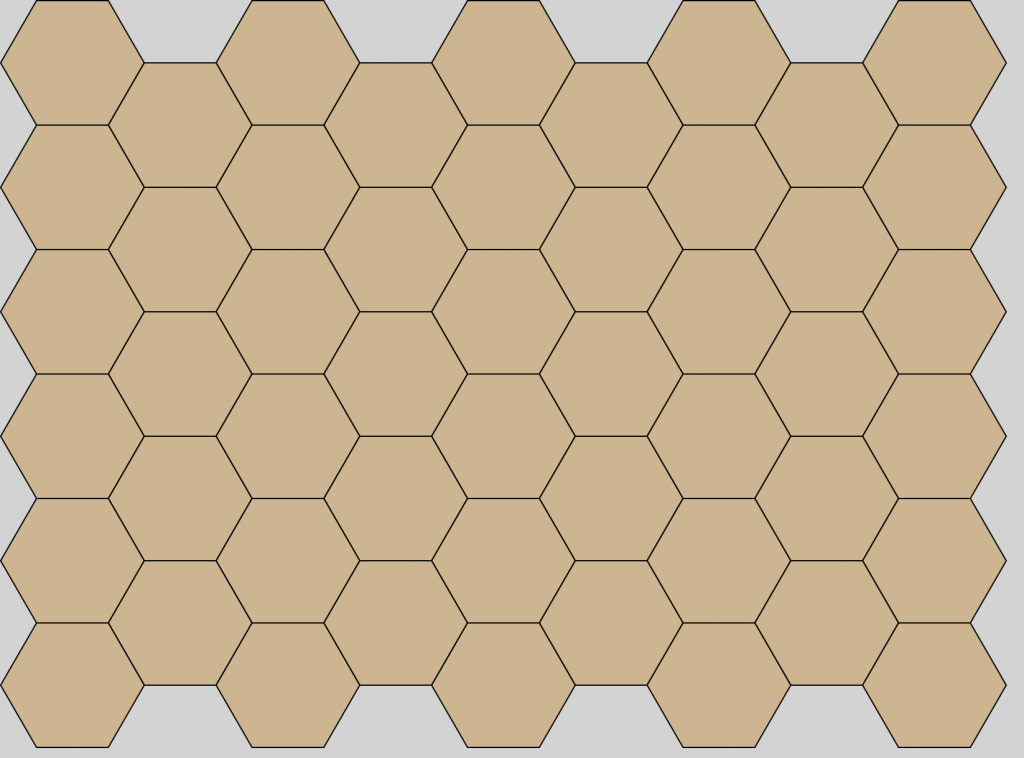
So I used the SVG image format to display my hexes, so all I had to do was loop through that array above, adding the x and y increments to position each one, and the first result was this:
Hex Grid, take two
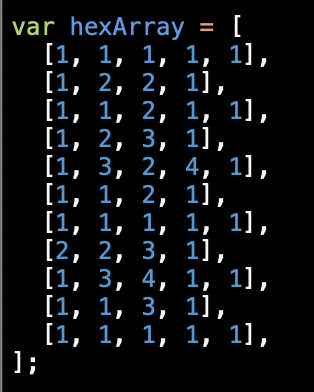
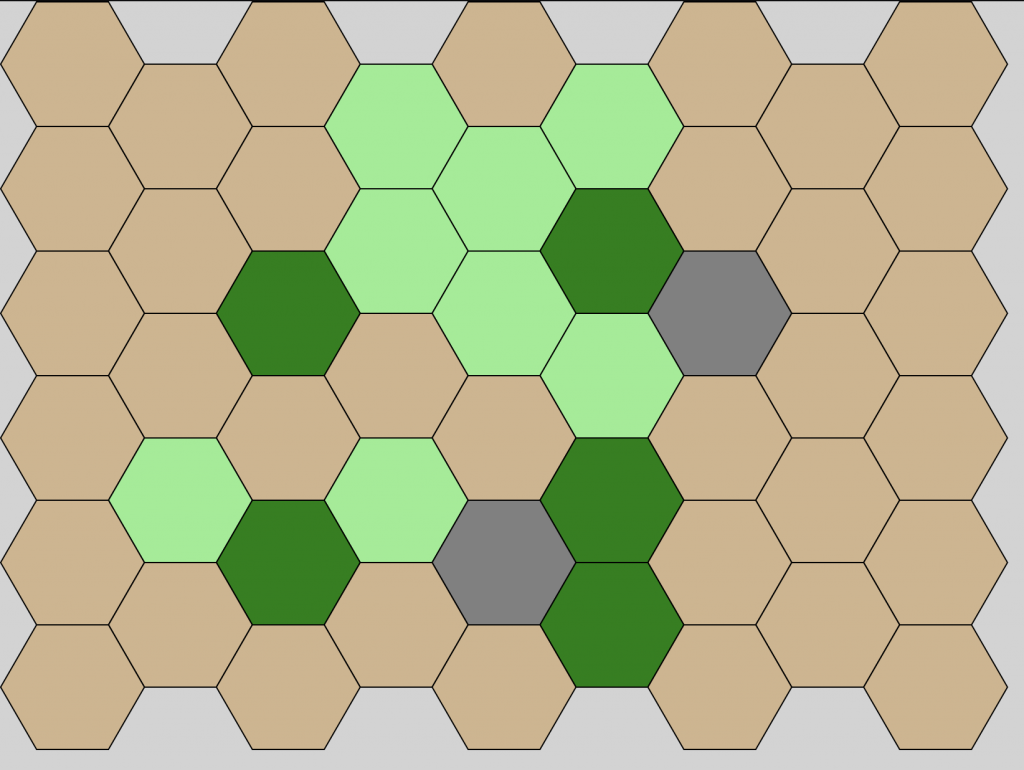
Now, to play with terrain, all I had to do was change some of the numbers in the array, then give each number a corresponding fill color. The new array:
…which produced this:
Once More, with Counters
After a few hours of playing with terrain (because it really was a lot of fun), I remembered that I had to put some counters on this thing. To do that, all I had to do was make another array of the same length to loop through that showed either nothing, a friendly counter, or an enemy counter. I could have used numbers again, but thinking ahead, I wanted to leave the door open to be able to stack counters. Now where each hex can only have one terrain type, it could have multiple counters on it. Therefore, each space in the array will either have nothing (to start, I used double-quotes for this) or an array of counters. So my initial counters array looked like this:

Eager to see how this would look, I quickly created a couple of placeholder counters (future Deluxe Designer’s Cut Extras?). After some fiddling with the math to get them perfectly centered in their respective hexes, I got this:

And just like that, I was off and running! In getting to this point, the hardest part for me was getting the math differences between hexes and squares down. Since these early stages, I combined the two arrays into one because it was easier to maintain, but the basic idea is the same. I won’t lie, seeing these hexes and goofy stick figures on my screen was really exciting. At this point I could already envision making things move, the rules I wanted to add, and how cool this could look with real artwork.
Hexes for All
As easy as it is changing terrain with a few numbers, I knew it could be even easier if I had the code do it for me. So I spent a weekend making a Hex Map Maker that would generate the arrays. All I had to do was tell it how many rows and columns and click a button. Taking it a step further, I added the ability for it to spit out an SVG (Scalable Vector Graphics) that I could open in Affinity Designer to plan out the art for my maps (have I mentioned SVGs are awesome?). As you can see if you clicked on that link, I’ve posted it here for others to use as well. It’s a really simple tool, but you guys have said so many nice things about it, I’m hoping to update it with some of the features you’ve asked for in near future (in between coding this game, of course).
Until next time, happy gaming!
Leave a Reply